

Today’s post will continue the list of Top 10 Most Unused Features in GEOVIA Surpac that I outlined in this post.
There are thousands of functions in Surpac and it’s all too easy to get into the routine of using a few functions over and over again. Our top 10 list highlights the functions you may not have thought of but could prove helpful in your day to day tasks. To recap, they are:
- User Preference Settings
- Point modes
- Visual cutting planes (Add and remove)
- Reactivating segments (Digitising)
- Adding functions to a toolbar (Cutting plane and Reactivate segment)
- Digitiser shortcuts (- + 1 2 3 4 5 control Z and control Y and Drafting tool)
- Follow a segment (Digitising) – For appending new pickups
- Data centric tools
- Mesh tools
- Solids repair (auto repair)
Today we’re talking about visual cutting planes.
What is a visual cutting plane?
It is a way to hide data in graphics that may be getting in the way of a task you are performing. The great benefit of visual cutting planes is that the user gets to select what portion of an object or string that they want to hide and you can cut the data as many times as you like until you achieve a desired view.
How do I use it?
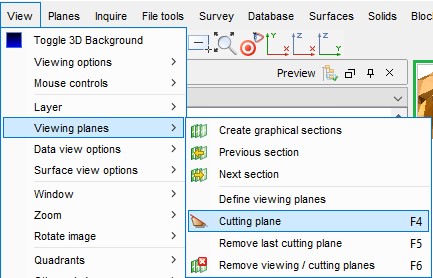
The visual cutting planes functions can be found in the menu under View >Viewing planes >Cutting plane.
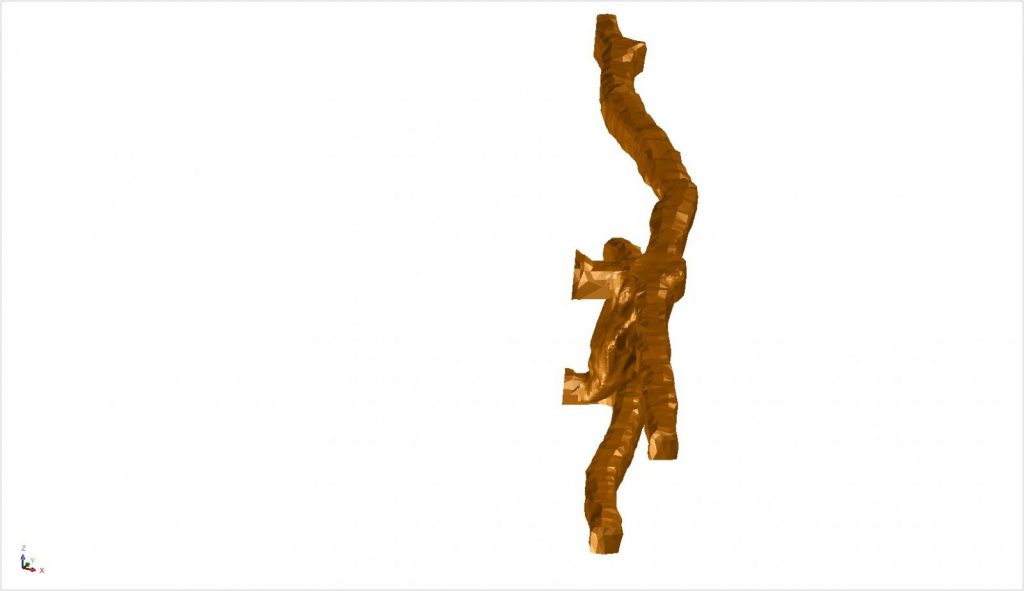
In the example below, I want to hide most of the upper and lower development so I can just see a couple of headings and the stope.
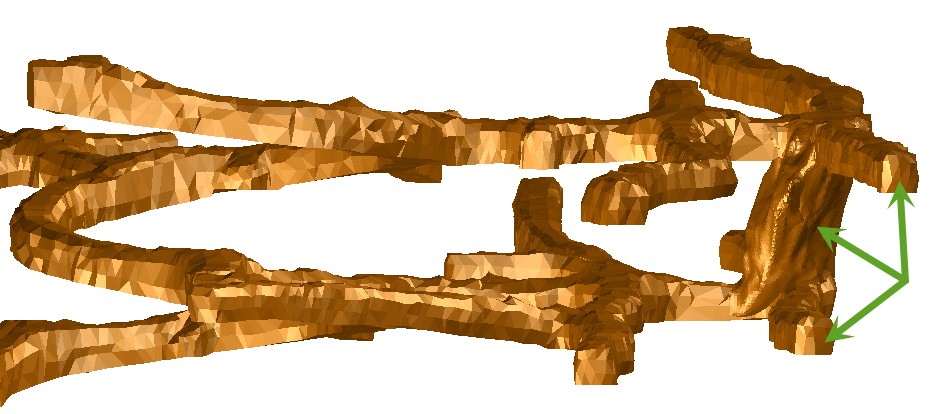
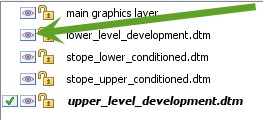
Because I still want to see a portion of the development headings, I can’t just use the visibility controls and make layers invisible.
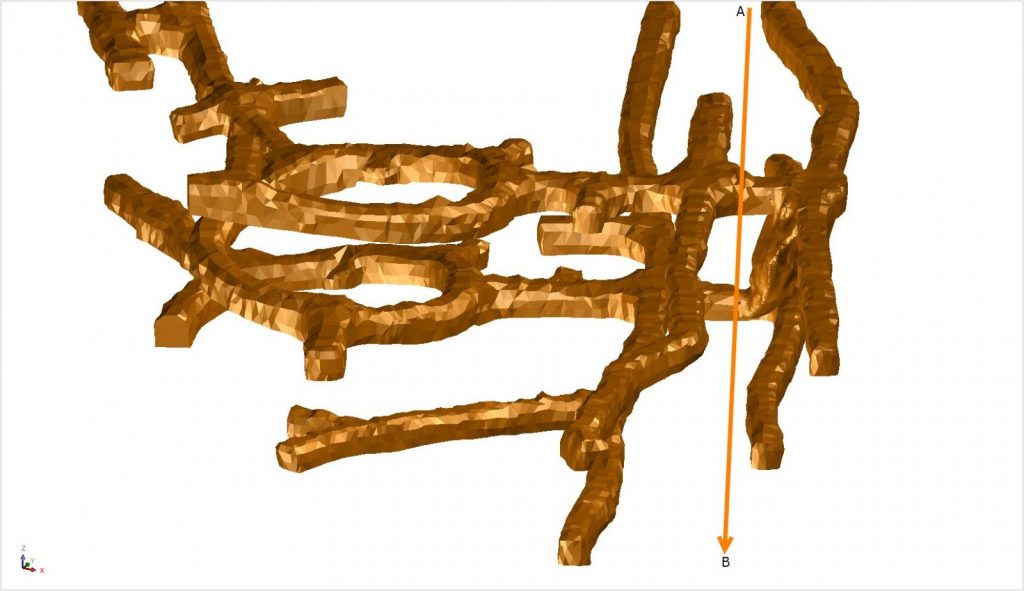
The way to use visual cutting planes is to first orientate your data in graphics so that it can be cut where you require. In the diagram below, I have rotated the data so I can cut it. The line A-B indicates the direction of the cut.
NOTE: The direction is important as everything on the right hand side of line A-B will be hidden.
Invoke the function View > Viewing planes > Cutting plane and follow the instructions displayed in the status bar. You can also use the shortcut CUT to invoke the function.

The function stays active, meaning you can cut your data as many times as required. Press Escape to finish.
Made a mistake? Don’t worry, just use the function View > Viewing planes > Remove last cutting plane to undo the last cut.
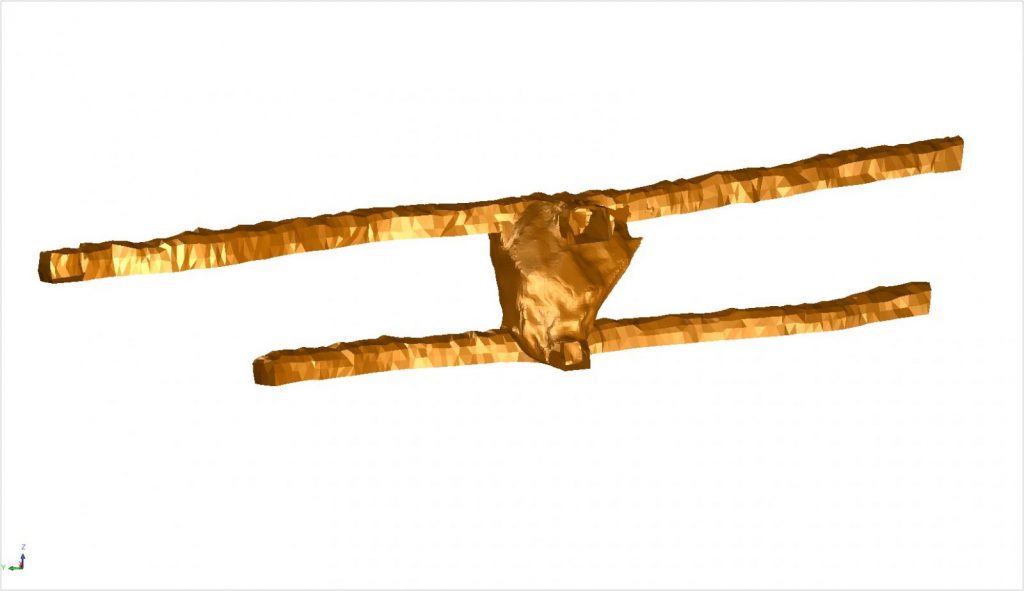
The below diagram shows the cut data rotated.
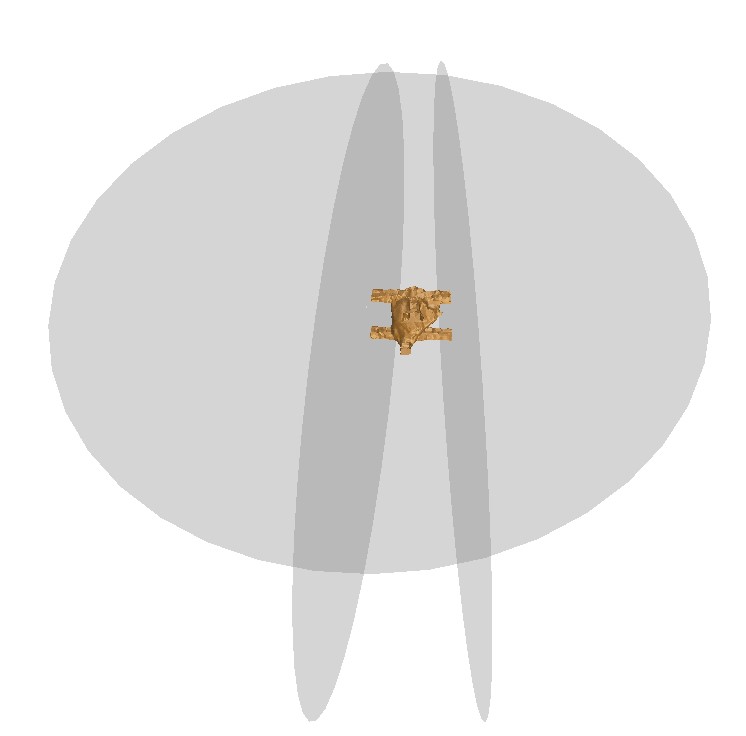
By default, Surpac will show a grey disc around each cutting plane.
If you want to hide the discs, use Customize > Default preferences as shown below
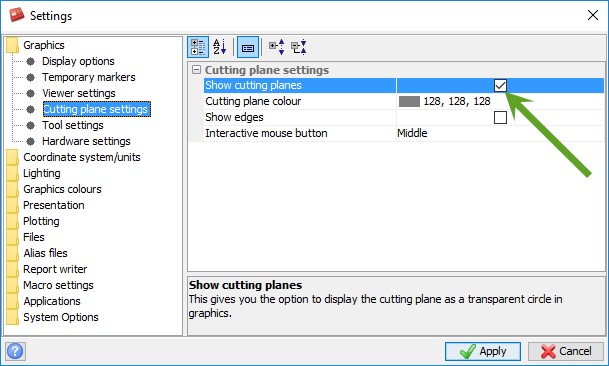
Unchecking the box will not remove any existing visual cutting planes, but only applies anything done AFTER the box has been unchecked.
We hope you found this tip useful! If you have any questions or comments, please contact me at ash.colton@3ds.com
You might also want to check out my previous tips: