

Orientating text in graphics can be challenging, and for the most part, longtime Surpac users will just add text to the final plot or use file-based plotting instead of Autoplot.
However, there is a better way to orientate your text easily just by using a styles file.
What is a styles file?
For new users of Surpac, data is contained in string files (.str) but how that data is displayed is contained in styles files (.ssi). You can have any number of styles files but it is most common for a mine site to have just one.
We have provided custom styles files that will allow you to orientate your text according to any bearing you choose (to the nearest degree):
- for black text only; this will work for anyone using a light colored background
- for those using a black background
What do my graphics look like before text orientation?
We will be using the following example of a pickup on 12 level.

Normally, you would have one string number dedicated to displaying text. Let’s say our text string was 99 and all text is contained in the d1 field of string 99.
Displaying the markers (PM) and the d1 field (PD) of string 99 would show the following in the graphics:
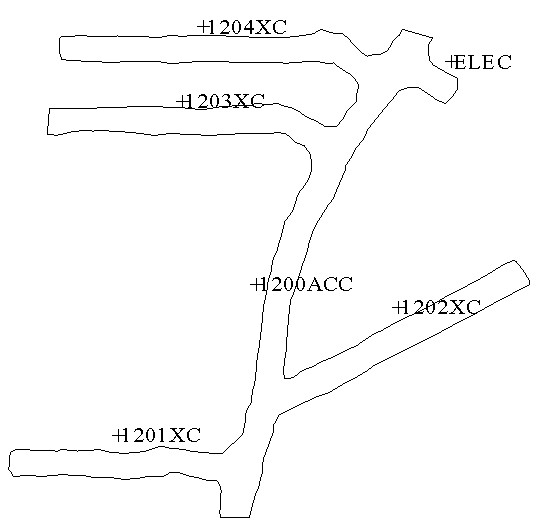
As you can see from the above example, all text is at a 90 degree bearing. This is because you can only have one text orientation per string number in Surpac.
So that users have more control over orientation, I have (download links above) that is easy to use and only requires text to be stored in a separate layer. To use the text.ssi styles file, follow the steps below.
How can I use the styles file to orientate text?
Firstly, associate your text layer to the styles file.
- Copy to the styles folder currently being used. Please email GEOVIA.Info@3ds.com if you are unsure.
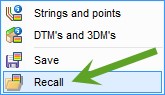
- Use Display > Display properties > Recall to associate text.ssi to your text layer. The text layer must be an active layer. You can have more than one text layer, for example in an underground environment, having one text layer per level would be sensible.
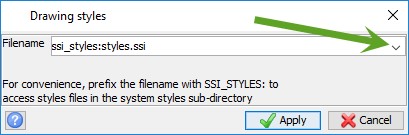
- Click on the drop down box.
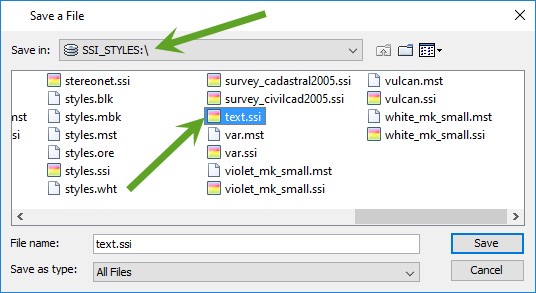
- Select the SSI_STYLES (logical if you have followed Step 1. Otherwise navigate to where you copied text.ssi).
- Choose text.ssi from the list of .ssi files.
- Your text layer may now look like below. This is due to the fact that string 99 is not listed in the text.ssi file and is therefore displayed by default as a yellow line.
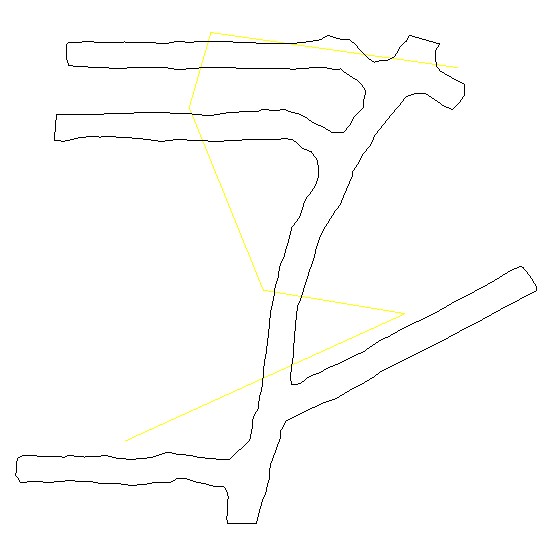
- Convert all the points on this string to single point segments. This can be done in Surpac 6.8 onwards using the function Edit > String > Explode. You should now be able to see points on the screen instead of a single segment.
- At this point in the process let’s have a quick look at what string numbers are in the text.ssi styles file.
- 1000 – 1180 (1.5m high)
- 2000 – 2180 (3m high)
- 3000 – 3180 (5m high)
- 4000 – 4180 (8m high)
- 5000 – 5180 (10m high)
- The best way to think of the string numbers is that the first digit governs the size. For example, the 3 in 3000 stands for 5m high text. The next 3 digits govern the bearing of the text from 0 (000) to 90 (090) to 180 (180), and everything in between.Thus, string number “3045” is 5m high text at a bearing of 45°; and string number “2160” is 3m high text at a bearing of 160°.
- I can now run Edit > Segment > Renumber and change each point to a different string number for orientation. Note that you may need to display markers (PM) to enable selection of the points
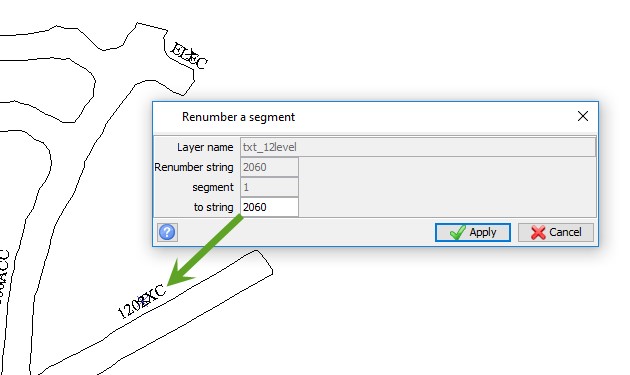
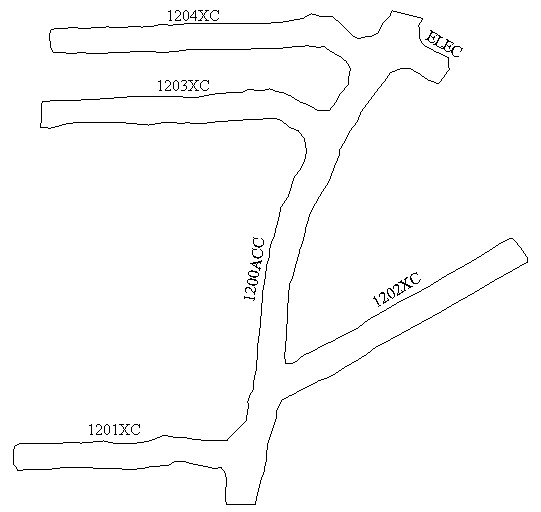
- The final result is as below.

12. Ensure you save the file for the changes to be applied.
What are the advantages of this method?
As the text is now in its own layer, you can save it and use it at any time. This works really well for autoplot as now you don’t have so much work to do on the final plot. As the mine progresses, continually update the text layers and plot them out as needed.
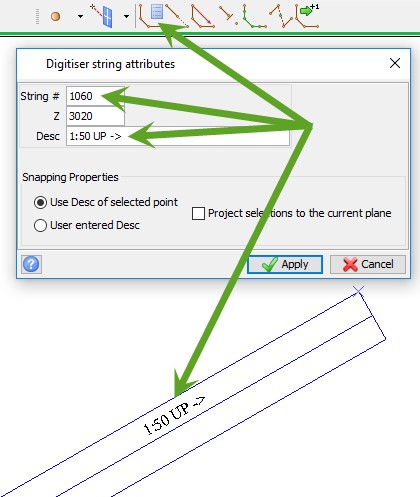
This type of text also works great for Development Engineers when specifying a gradient for a new heading. As the text is already orientated, confusion is eliminated and there is no need to annotate the final plot with this information.
What’s next?
Try this out and see how it works for you! If you have any questions, please email GEOVIA.Info@3ds.com (your email will get routed to me) and I can walk you through it or do a screen sharing session.
I have also created a set of macros that will allow you to graphically create text at the correct orientation rather than setting the string number. These are also free – just shoot me an email if you would like to use them!