
It will generate a ramp as well with the specified ramp properties:
To move further with 10 mt bench height and 5 mt berm width up to 900 mRL, it will create the pit as per the images below:
It will generate a ramp as well with the specified ramp properties:
To move further with 10 mt bench height and 5 mt berm width up to 900 mRL, it will create the pit as per the images below:
Now to expand the pit further with berm with, go to Design > Expand Segment > By berm width and select Berm creation method as “delta z down to elevation >=” and set Limiting elevation as “1030”:
It will generate a ramp as well with the specified ramp properties:
To move further with 10 mt bench height and 5 mt berm width up to 900 mRL, it will create the pit as per the images below:
To design the next bench at 1030 mRL, go to Design > Expand Segment > To elevation; and select the pit top string file, it will create bench line at 1030 mRL where RL values are more than 1030.
Now to expand the pit further with berm with, go to Design > Expand Segment > By berm width and select Berm creation method as “delta z down to elevation >=” and set Limiting elevation as “1030”:
It will generate a ramp as well with the specified ramp properties:
To move further with 10 mt bench height and 5 mt berm width up to 900 mRL, it will create the pit as per the images below:
Next to define Design Slope Angle Method, go to Design > Pit Design > Select Slope Method and choose design slope. Then go to Design > Pit Design > Set Slope Gradient for entering bench slope gradient manually as shown below:
To design the next bench at 1030 mRL, go to Design > Expand Segment > To elevation; and select the pit top string file, it will create bench line at 1030 mRL where RL values are more than 1030.
Now to expand the pit further with berm with, go to Design > Expand Segment > By berm width and select Berm creation method as “delta z down to elevation >=” and set Limiting elevation as “1030”:
It will generate a ramp as well with the specified ramp properties:
To move further with 10 mt bench height and 5 mt berm width up to 900 mRL, it will create the pit as per the images below:
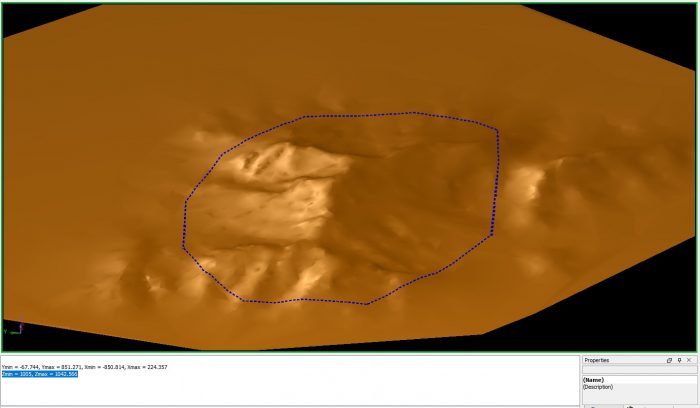
Sometimes Mining/Design Engineers may need to design a pit from top to bottom from a constrained pit top boundary with varying RL value.
Whereas, the next benches need to be designed with fixed RL value with ramp.
GEOVIA Surpac has the capability to design benches with fixed RL, considering delta Z up to the desired elevation. The following image illustrates a pit top boundary with varying RL value from 1042.566 to 1005:
To start designing the pit, first go to Design > Pit Design > New Ramp; then select the ramp starting points and define the ramp properties as shown below:
Next to define Design Slope Angle Method, go to Design > Pit Design > Select Slope Method and choose design slope. Then go to Design > Pit Design > Set Slope Gradient for entering bench slope gradient manually as shown below:
To design the next bench at 1030 mRL, go to Design > Expand Segment > To elevation; and select the pit top string file, it will create bench line at 1030 mRL where RL values are more than 1030.
Now to expand the pit further with berm with, go to Design > Expand Segment > By berm width and select Berm creation method as “delta z down to elevation >=” and set Limiting elevation as “1030”:
It will generate a ramp as well with the specified ramp properties:
To move further with 10 mt bench height and 5 mt berm width up to 900 mRL, it will create the pit as per the images below:
 Suvradip Datta
Suvradip Datta, Industry Process Consultant - Mining, GEOVIA, Dassault Systèmes India Pvt. Ltd. Suvradip is a Mining Engineer with over 11 years experience in mine planning, consulting and operations. Suvradip started his career with Hindustan Zinc Limited in Planning & Operations before joining Dassault Systèmes. In his current role at Dassault Systèmes, Suvradip provides consulting, implementation and product training to GEOVIA users across Asia. He specializes in GEOVIA Surpac, MineSched and Whittle.