

When reviewing drill holes in an ore deposit that has been drilled over decades, by several different companies, geologists may want to filter out the holes based on the hole ID which is generally different for each company and can also signify the different drilling methods. To do this a wild card “*”, needs to be used in GEOVIA Surpac.
This type of filtering can be done easily through Microsoft Access, and then viewed in Surpac by creating a Make Table Query. Surpac can then be mapped to the resultant collar table. The below steps will explain in detail how to filter out such drill holes.
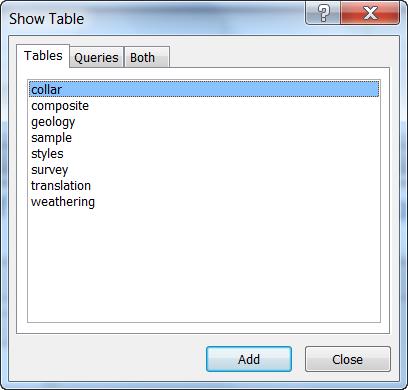
1. Open up your database in Microsoft Access, making sure that this database is closed in Surpac.
2. Click on the Create Tab, and create a query using the collar table.

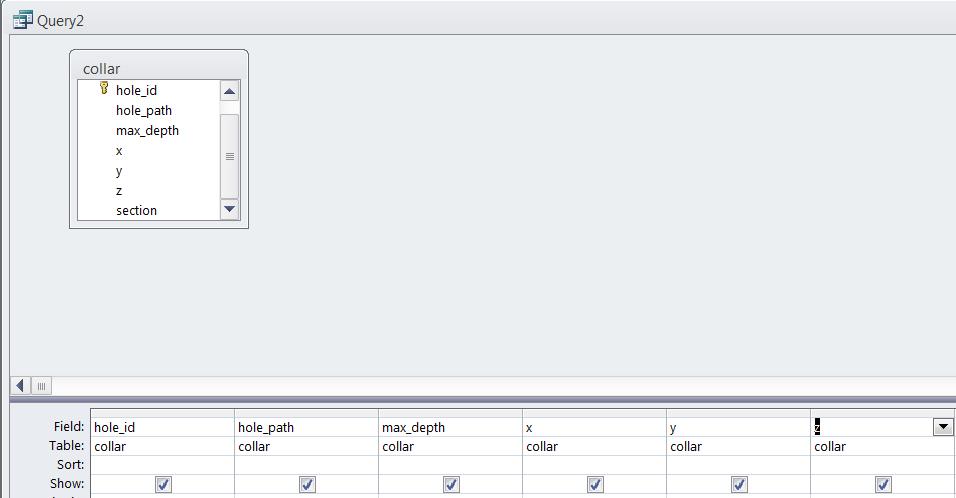
3. Double click on each of the fields you want in the collar query. Please ensure you are selecting the compulsory Surpac fields such as hole id, x,y,z, max depth and hole path fields.
4. In the Criteria line, enter the hole prefix you want to filter on and include the ‘*’symbol (wildcard), then run the query. In this example, we will use the criteria *RC*, which means all holes that have RC in the hole id.

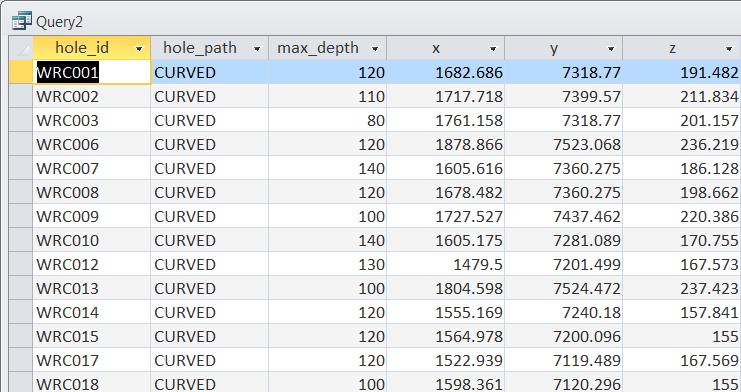
5. Check that these holes are the ones you require in the query. For instance, RC appears in hole_id WRC001, as per the below table.
6. Click on the Design icon in the toolbar.
7. Click on the Make Table icon and Run.
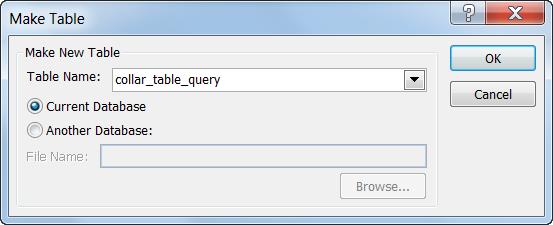
8. The table will be created 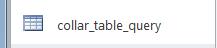
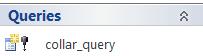
9. Save the query. 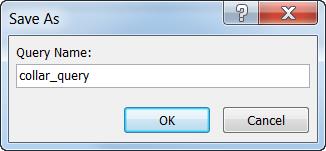 It will then be listed under the Queries heading.
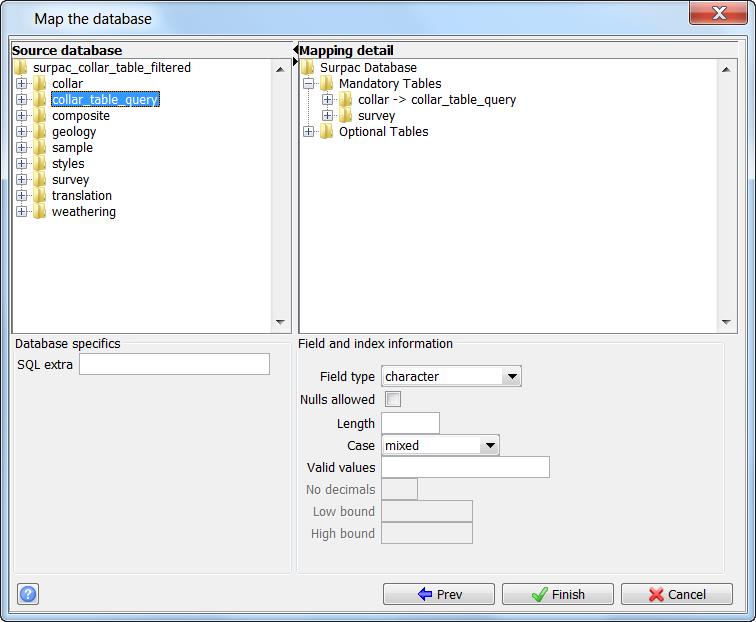
10. Now, open Surpac and go to Database > Map the database.

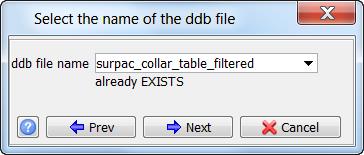
11. Enter in the name for the new .ddb file, for example, ‘surpac_collar_table_filtered’. Click Next and the Map the Database window should pop up.
12. Drag the result of the Make table query from step 7 over to the right hand side to the ‘collar’. It should then read as it does below: collar -> then the name of the table from step 7. Click Finish.
13. The below screenshots illustrate what the unfiltered data looks like versus the filtered data according to your set criteria.
Unfiltered data:
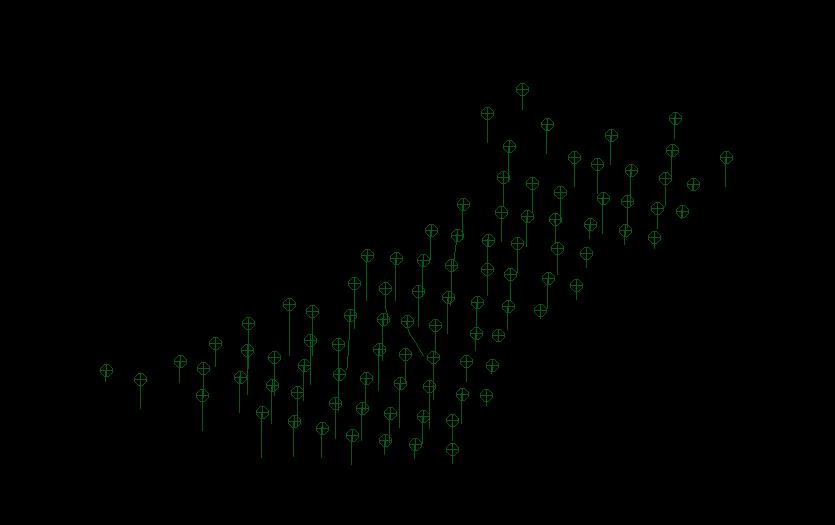
Filtered data:
 We hope you found this tip useful! The query can be edited and used at any time. You can see that from the filtered screenshot above, that you are only viewing the drillholes specific to your request and not cluttered by existing drillholes made by others.
I have previously written posts on Flagging Multiple DTMs with Assign Multiple Domains and How to Plot Drillhole Traces in Plan View. You can also read 10 Steps for Extracting Drillholes as String File.