

Geology databases are usually huge. Typically, engineers and surveyors are only interested in the drillholes containing intercepts within the mine reserve and will generally use the drillhole database in underground development design. In this context, they will interrogate the database if they plan to develop close to or through an orebody; or to monitor the development in relation to geological structures or faults; or to minimize the likelihood of water inundation from a hole that has intercepted the groundwater table or a perched aquifer.
Knowing the location of a drillhole is very important from both a design and safety perspective. By extracting the database as a string file, users can look at the drillholes they are interested in. Additionally, surveyors may also want to use the drillholes in an external package.
Here are the 10 steps to extract your drillhole database as a string file in GEOVIA Surpac™.
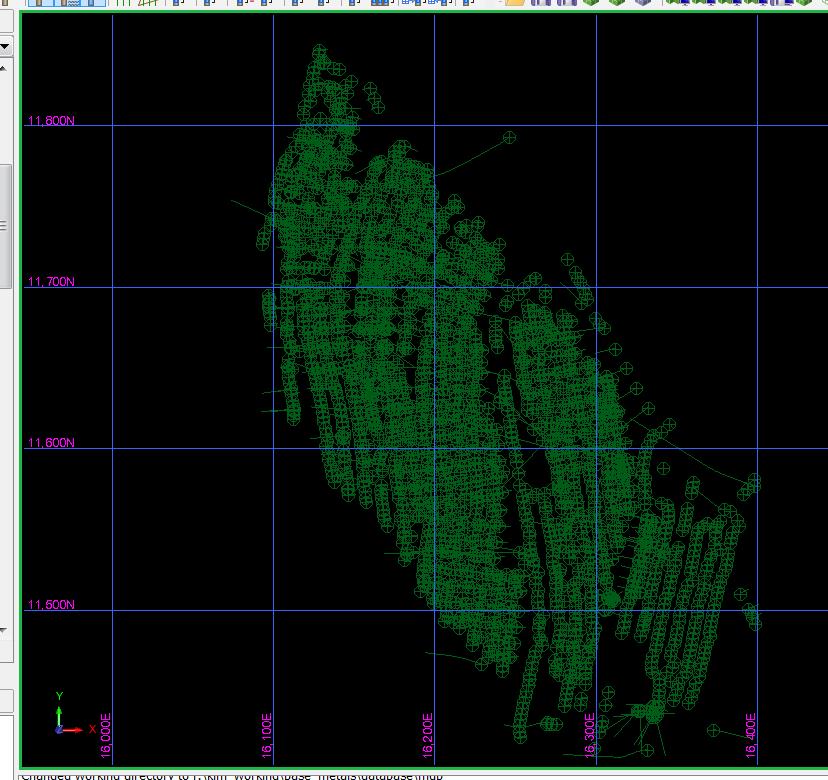
1. Open up the drillhole database in Surpac and display the holes.
2. Display a grid so you can work out the location of the center of the database.
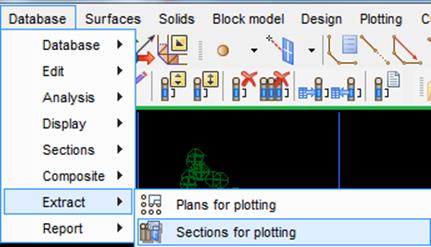
3. Select Database > Extract> Sections for plotting.
Note: This is a function that extracts the database as strings.
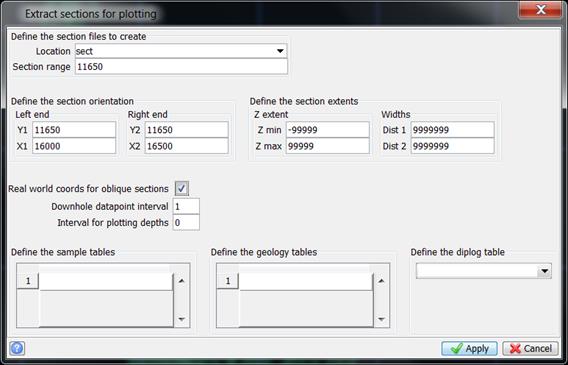
4. Fill in the form ‘Extract sections for plotting’ and click ‘Apply’.
Ensure Y1 and Y2 are the same number as section range. The section range, Y1 and Y2 need to be the same as we are extracting a cross section through the database with a large window either side. Y1 and Y2 represent a straight line through the center of the ore body, and section range represents the northing that the section will be cut on.
Note: Make sure the widths on each side allow for the entire database to be extracted. X1 and X2 are the minimum and maximum Easting.
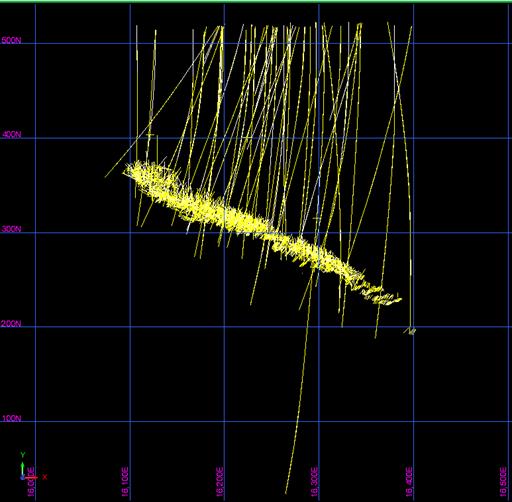
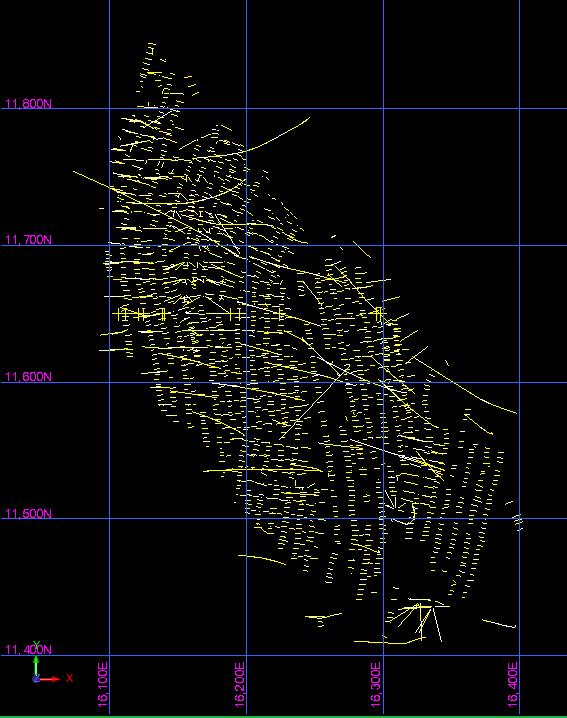
5. Open up the string file and display a grid. You will see that the RL is displayed as a Northing.
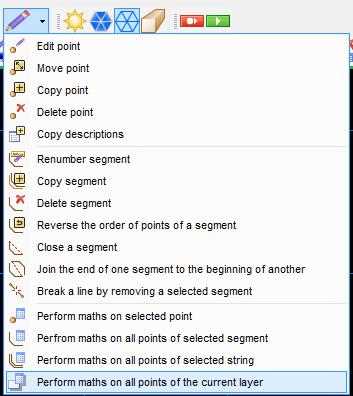
6. Use graphics layer maths and transpose the string file by selecting ‘Perform maths on all points of the current layer’.
7. Enter the following in the Graphics string maths window:
Field ‘y’ and expression ‘z’ Field ‘z’ and expression ‘y’ Select ‘Apply’

8. Click on Zoom to data extents
9. The Northing is now correct. Display the drilloles and check the strings are on top of the drillholes.

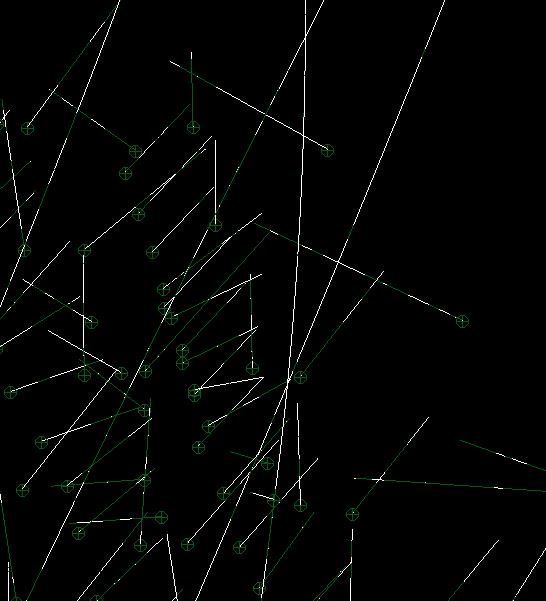
Note: String 1 is the Hole trace for holes entirely within extraction limits. String 5 is the top, bottom and down hole survey depths with survey data stored in the D fields.
10. Select File> Save > string/Dtm and pass the string file to mining engineers or surveyors.
Note: Remember to tell the end users the difference between string 1 and 5, as they need string 1 for the trace, but string 5 for the hole_id.
If you would like to automate this process as a macro, contact GEOVIA.AU.sales@3ds.com for more information.
Looking for more Surpac Tips & Tricks? Check out Kim’s earlier post on Validating a CMS Pickup in Surpac . Be sure to check back next week for more Product Tips & Tricks.